
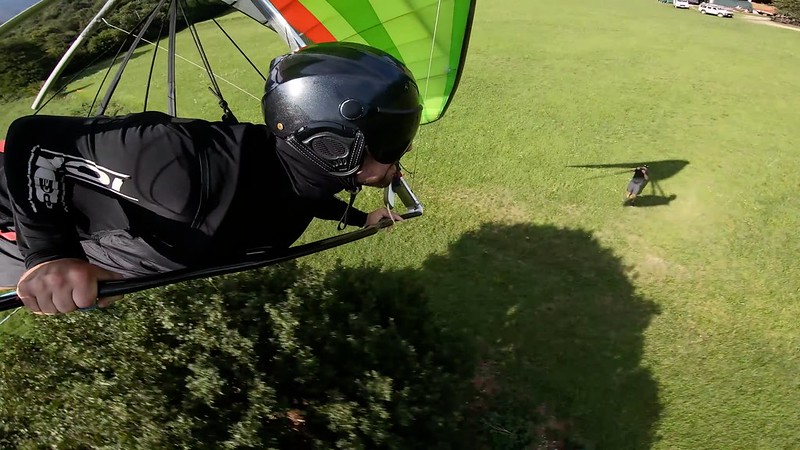
Couds, epic glories and a 360°hook landing
So here's what my stills harvesting machinery looks like on the 2560x1600 display of my 13 inch MacBook Pro:
http://live.staticflickr.com/65535/50615271918_5fdc6d0136_o.png
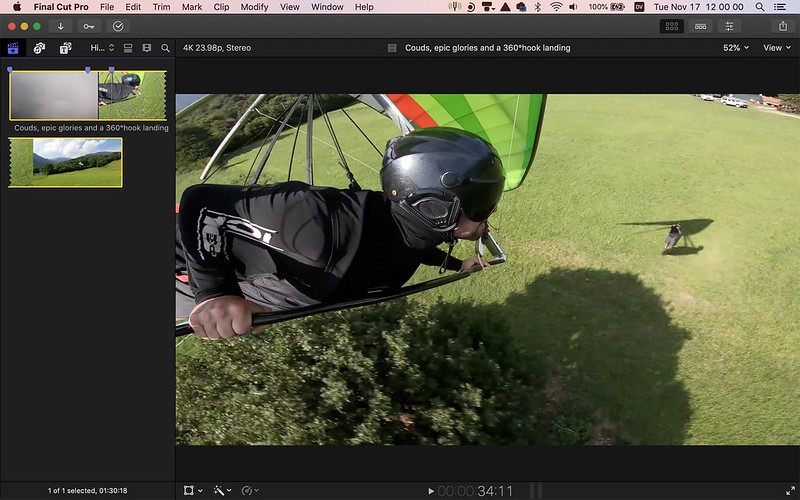
using Andrea's monster 3840x2160 video as the (worst case scenario) example and the 0:34:11 (24 fps) Rosetta Stone frame as the sample with the Browser area width minimized / Viewer area width maximized. We're displaying at "Fit" which in this case is "52%" (reverse) magnification 'cause of the high resolution.
In theory all we need to do is go to the little Share/Destinations button in the upper right hand corner and "Save Current Frame..." in some folder we'll have created for the project in PNG (Portable Network Graphics lossless data compression) format. But as we've discussed before...
(http://www.kitestrings.org/post11927.html#p11927) (previous post in this topic)
...there WILL BE a noise issue so we're mostly just using the result as the canvas/frame/guide/backup for the final product. (Final Cut Pro 10.4.10. Yeah right. Keep up the great work, Apple.)
Preparation... Note the three little blue Markers at the top edge of the top Browser area. The first marks Frame Zero (often comes in useful), the second the beginning of relevant Glider Camera sequence, the third the Frame (03411) upon which we're working. Just type M to establish one, Control-M to lose it. Click on the Marker to hit your precise Frame. Will save a fair bit of time and effort.
So what we do now is blow up to actual/100% magnification and take four screen section shots (Shift-Command-4) anchoring on the four corners of the Frame and using Photoshop to paste/layer them into our canvas for the pristine final product we were supposed to have gotten in the first place.
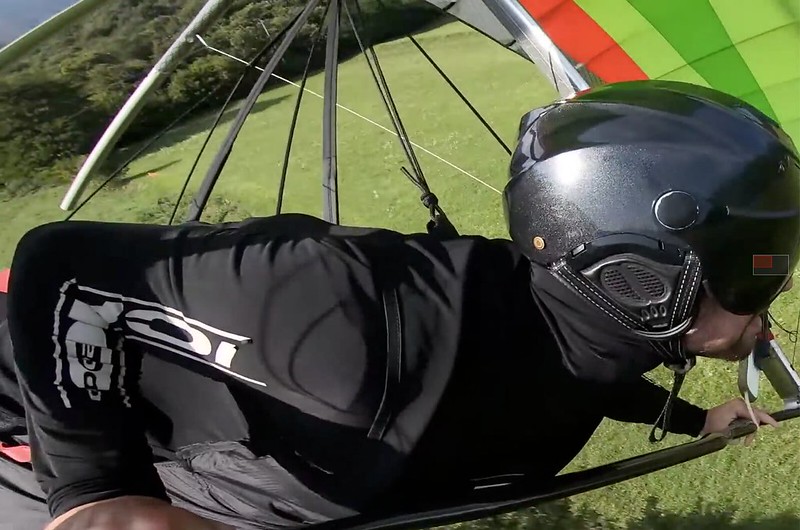
1 - Top Left
http://live.staticflickr.com/65535/50617220386_6bb623183f_o.png
2 - Top Right
http://live.staticflickr.com/65535/50617330752_dfc70ab312_o.png
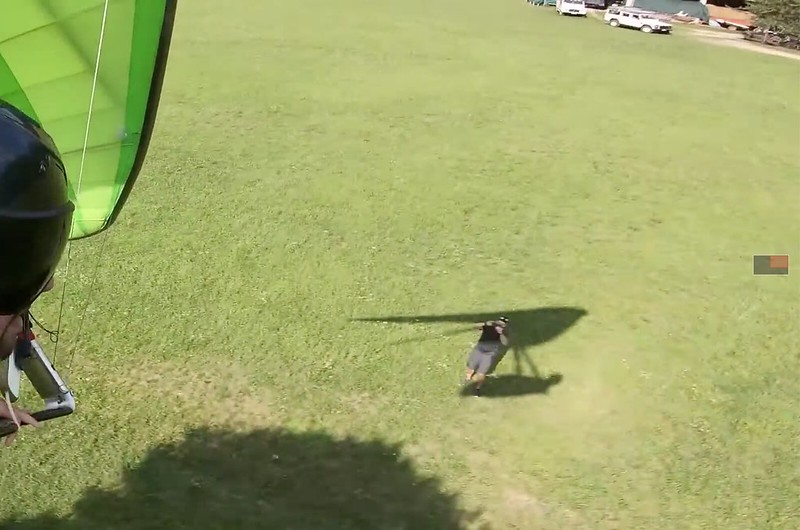
3 - Bottom Left
http://live.staticflickr.com/65535/50617330597_9bdca992c9_o.png
4 - Bottom Right
http://live.staticflickr.com/65535/50617330632_43c15ff8a7_o.png

Two problems - the first of which you'll have noticed and the second of which you won't.
- When we blow up beyond what our screen real estate can handle for a complete view a gray translucent rectangle appears at the middle of the far right side of the frame. Within it is a red translucent rectangle which we drag around to reveal the areas we wanna see and/or capture. We get this with our screen shot. So to deal with that issue we select and delete. Odds are real good that the underlying Layer 0 area will be clean. Otherwise we go back into Final Cut, drag our rectangle elsewhere a bit to expose what had been the damaged area, take a small screen shot...
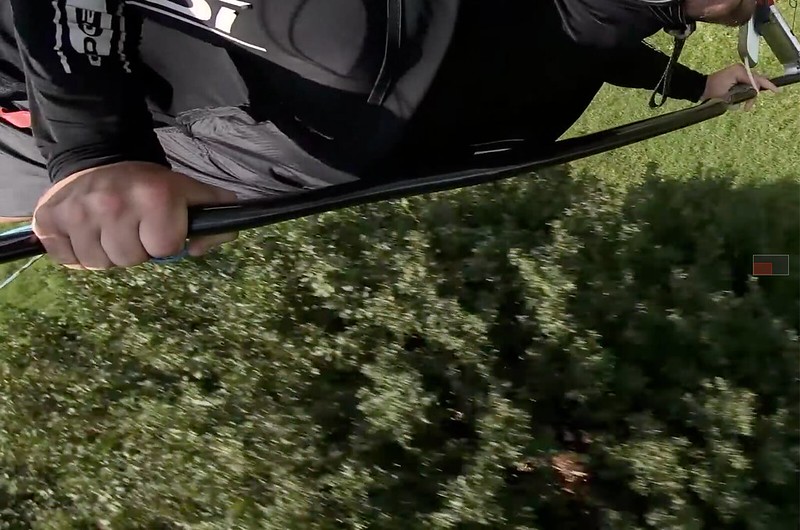
- When we're dragging our screen shot rectangle hard against the right side of the screen in order to capture the far right row of pixels (in the view or in the actual far right edge) the product comes back with white blended into that row. Even going to the full rez URLs and zooming in we'll have a hard time seeing the problem in these examples what with our forum's light blue background but we most assuredly wouldn't if it appeared somewhere in the middle of a photo. Full rez Example:
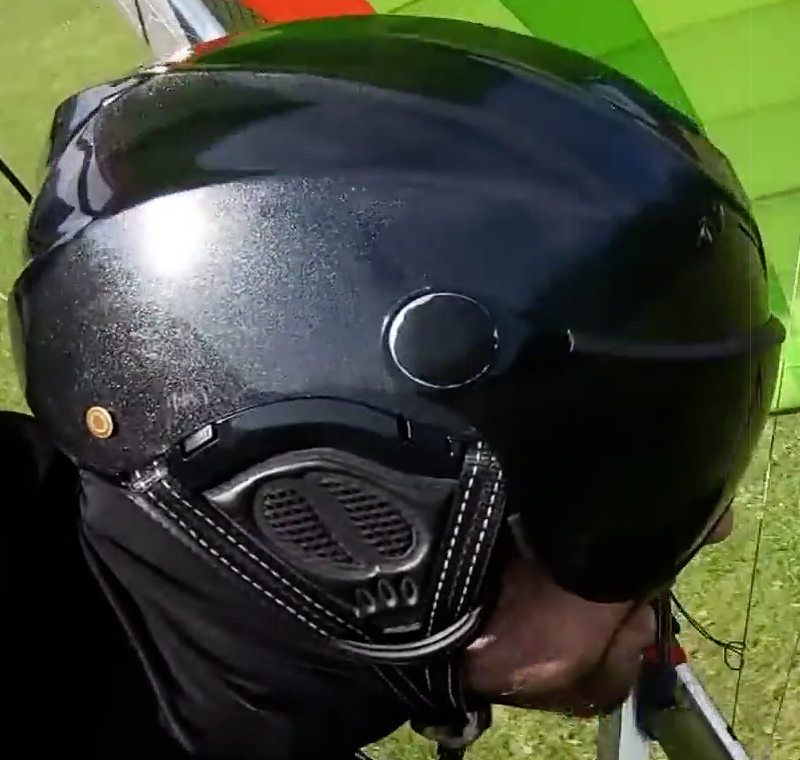
We can clearly see the light vertical line close to the upwind face of his (black) helmet and if we zoom in we can follow it from top to bottom. Most practical workaround... Take the full shot, crop off the problem row, paste it in hard against the right edge as if we didn't, nudge the Layer a single increment to the left, flatten. I don't think I've ever found a noise pixel in an actual right edge.
Also... You'll notice that whenever you change your magnification (as in Fit/100%) your Share/Destinations button will dim and become inert. (Mine does anyway - pretty sure I didn't have this issue with earlier versions. (And ditto for the noise.)) Clicking in the Browser gets you back in business, clicking on your Marker gets you back in business and where you wanna be.
So dealing with this recent real world example...
When in Shift-Command-4 mode we get horizontal and vertical coordinates as we move the cross-hairs. The numbers change with two-pixel increments. We can use these coordinates to minimize or - if we're a bit lucky - eliminate the crap we need to crop from the frame. This will be - at worst - an excess of one pixel's worth of width and/or depth beyond one to four of the edges.
In the example of this video I got lucky. With things configured as in the first illustration but with the magnification at 100 (versus 52) percent and dragged all the way to the top left we go into Shift-Command-4 mode and zero in on the Top Left corner. 281-093 (latitude-longitude) nails it. Click on that and the coordinates zero and start increasing as we drag in our desired direction - which will be SSE. At the right edge of the display (which for Top and Bottom Right will also be the right edge of the Frame) and the bottom of the desired selection (which for Bottom Left and Right will also be the Bottom edge of the Frame) we'll be at 999-677. (And while we're working we just need to memorize the last digits 1-3 and 9-7 in this case. (And not really the 9 'cause that's the edge.))
It's worth our time to determine the optimal Top Left position coordinates by taking a couple small screen section shots. We go a wee bit generous for the start position on the first effort, determine the width and depth of what needs to be trimmed, take a second shot to verify our arithmetic.
Shoot, prepare, paste in the order I've illustrated:
- Top - Left/Right
- Bottom - Left/Right
There's plenty enough overlap to bury the little frame navigation rectangles - not to mention the edge issue - on the left side Layers even in this rather extreme example. (In the image immediately above I deliberately pasted in reverse order - right first, left second/last - to illustrate the right edge issue.)
Then drag Marquees around the right Layers navigation rectangles and delete their contents to reveal the area of Layer 0 (the Frame you saved in Final Cut). It will very likely be noise free. Otherwise... Deal with it.
Flatten image, save as PNG:
22-03411
http://live.staticflickr.com/65535/50595345893_e145e3c77b_o.png
---
2020/12/03 01:00:00 UTC
For a nice 1920x1080 resolution life gets much simpler. We can display at 100 percent and take a screen shot from coordinates 300x161 to 961x541 which gets us to 1922x1082 with a comfortable bit of edge to spare and then trim down to target in one easy cropping operation. (Note... Two-pixel increments, 961x541 = 1922x1082.) Downside... At this resolution on this screen "Fit" is 104% and it's pretty easy to get faked out when you're intending to do "100%".
---
2020/11/19 10:45:00 UTC - This was Post 9000 for me.